
Every year, thousands of seniors suffer life-altering falls in the bathroom—with the shower threshold posing the highest risk. Placing grab bars in shower is one of the quickest, most effective ways to prevent slips and maintain independence, but simply screwing a bar into the wall isn’t enough.
Placement, height, and secure anchoring make all the difference between real safety and a dangerous false sense of security. This guide breaks down the exact placement measurements, hardware specs, and installation steps to make your shower completely slip-free.
Quick Placement Summary at a Glance
| Location / Purpose | Recommended Height & Orientation | Primary Function |
| Shower Entry / Threshold | Vertical bar, lower end 34″–38″ from floor | Balance when stepping over the edge |
| Back Wall (Standing) | Horizontal bar, 33″–36″ above shower floor | Stability while washing and rinsing |
| Shower Controls / Faucet | Vertical or angled bar, 12″–16″ near controls | Balance when reaching to adjust water |
| Seated / Shower Bench | L-shaped or vertical bar, lower end 8″–10″ above floor | Pushing up to stand or lowering down |
Why Proper Grab Bar Placement Is Non-Negotiable
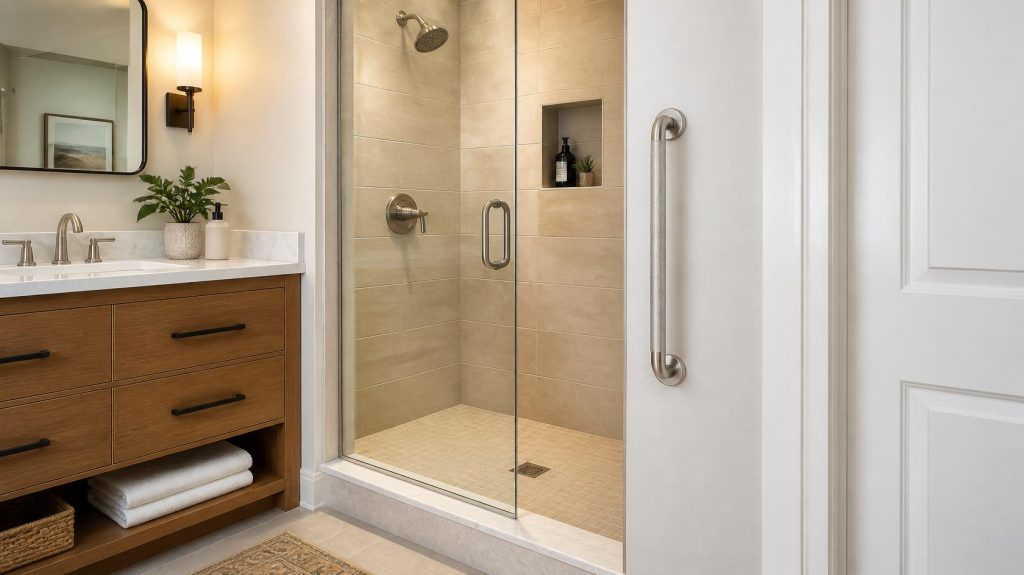
According to the CDC, more than 80% of bathroom injuries are caused by slips and falls—with the shower threshold and slippery tile surfaces posing the highest risk for seniors. While adding grab bars seems simple, incorrect installation often creates a dangerous false sense of security.
When a person loses their footing, they don’t gently pull on a bar—they grab it with their full, dynamic body weight in a fraction of a second. If a bar is mounted at the wrong angle, placed out of natural reach, or attached only to hollow drywall, it will instantly rip free from the wall or cause the user to lose their grip mid-fall.
Proper placement isn’t just about ergonomics; it ensures the bar absorbs high-impact force exactly where the body naturally seeks leverage during a loss of balance.
Assessing Your Senior’s Needs and Bathroom Layout
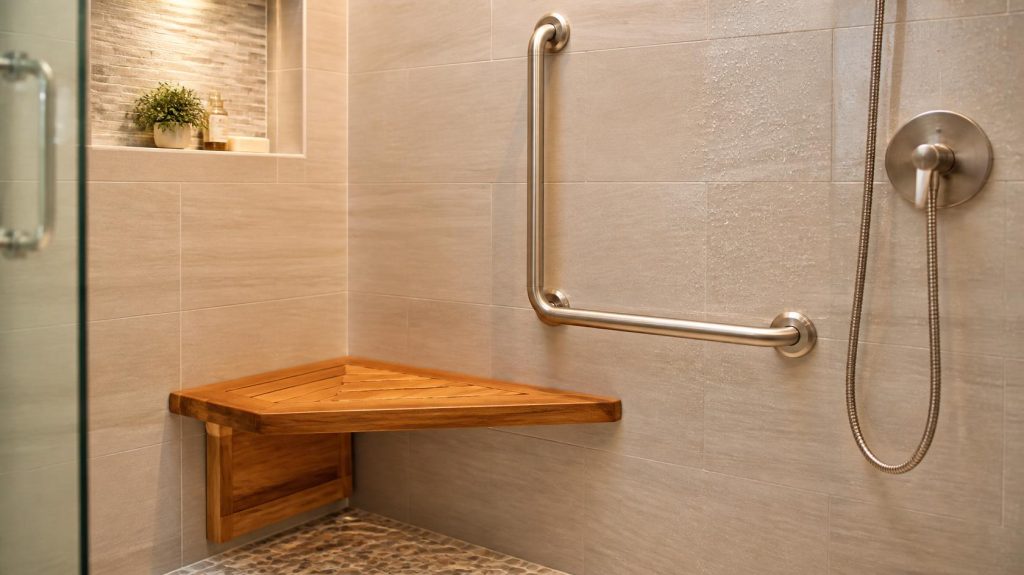
Before purchasing or mounting any hardware, evaluate both your parent’s mobility and the physical layout of the bathroom.
1. Evaluating Mobility & Physical Needs
- Balance & Stability: Seniors who sway while standing or rely on counters for balance require continuous horizontal support along the shower wall.
- Strength & Joints: Arthritic joints or weakness when standing require vertical or L-shaped bars placed near shower seating to provide leverage when pushing up.
- Vision & Cognitive Needs: Contrast is key. Use dark-colored or textured bars against light tiles to make handholds easily identifiable for those with low vision or cognitive decline.
2. Assessing the Shower Structure
- Tile over Wood Studs: The ideal mounting surface. Screwing directly into wooden studs guarantees maximum weight capacity.
- Fiberglass or Acrylic Surrounds: Hollow fiberglass walls cannot support weight on their own. Never screw a grab bar directly into fiberglass without heavy-duty structural anchors (such as WingIts) or backing studs.
Recommended Grab Bar Placement Strategies
To create a fully secure shower environment, implement a combination of vertical and horizontal bars tailored to specific movements.
Shower Entry & Exit Height (The Danger Zone)
Stepping over a wet threshold or tub wall poses the highest risk for slips.
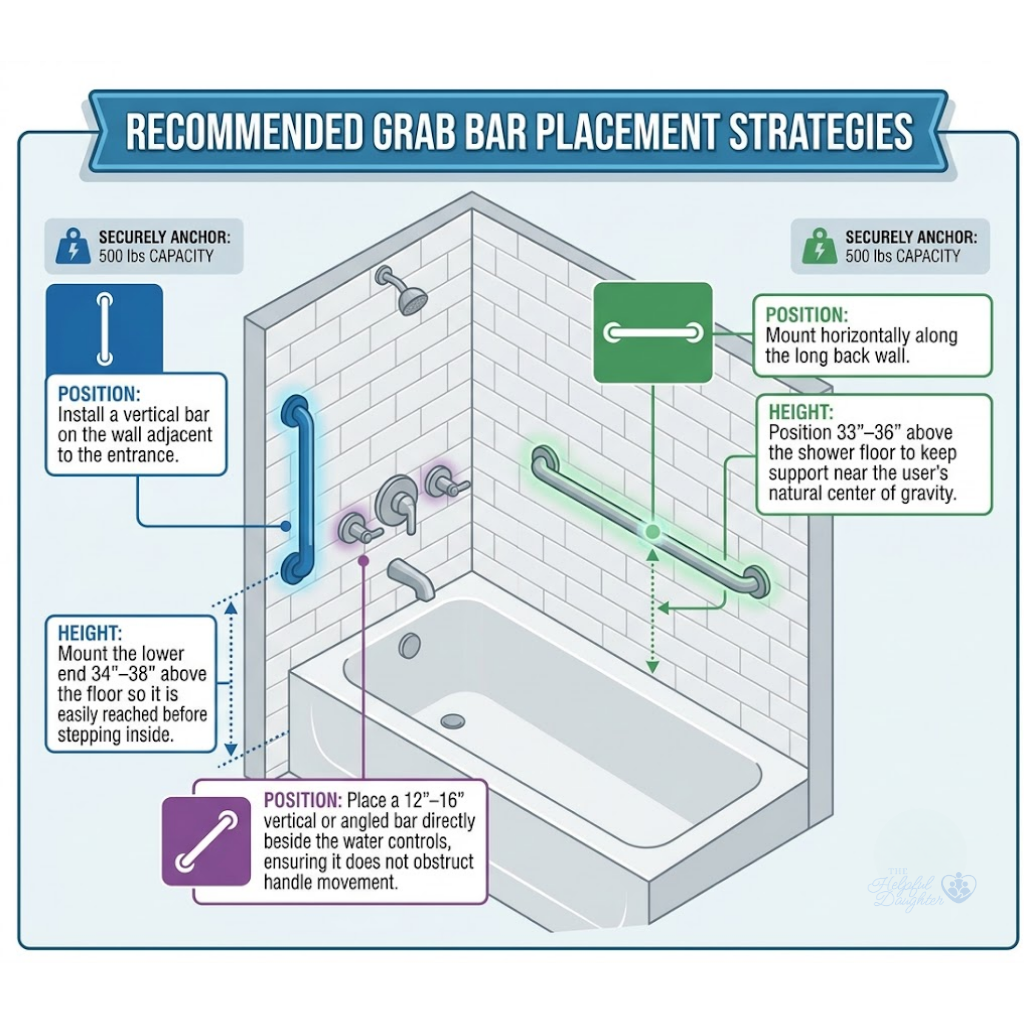
- Position: Install a vertical bar on the wall adjacent to the entrance.
- Height: Mount the lower end 34″–38″ above the floor so it is easily reached before stepping inside.
Standing Balance Along the Back Wall
For seniors who stand while washing, a centered horizontal bar provides reliable stability.
- Position: Mount horizontally along the long back wall.
- Height: Position 33″–36″ above the shower floor to keep support near the user’s natural center of gravity.
Leverage Near Water Controls
Reaching for temperature knobs often causes temporary balance loss.
- Position: Place a 12″–16″ vertical or angled bar directly beside the water controls, ensuring it does not obstruct handle movement.
Related Reading: 6 Best Shower Grab Bars for Seniors (Tested & Reviewed)
Selecting the Right Hardware: Features & Weight Ratings
Not all safety bars are created equal. Ensure your selections meet proper safety specs.
ADA Standards vs. Real-Home Safety
While commercial ADA standards require a weight rating of 250 lbs, home environments often demand higher capacity for dynamic fall protection. Choose heavy-duty stainless steel bars rated for 500 lbs to account for sudden weight impact during a fall.
Critical Features to Look For
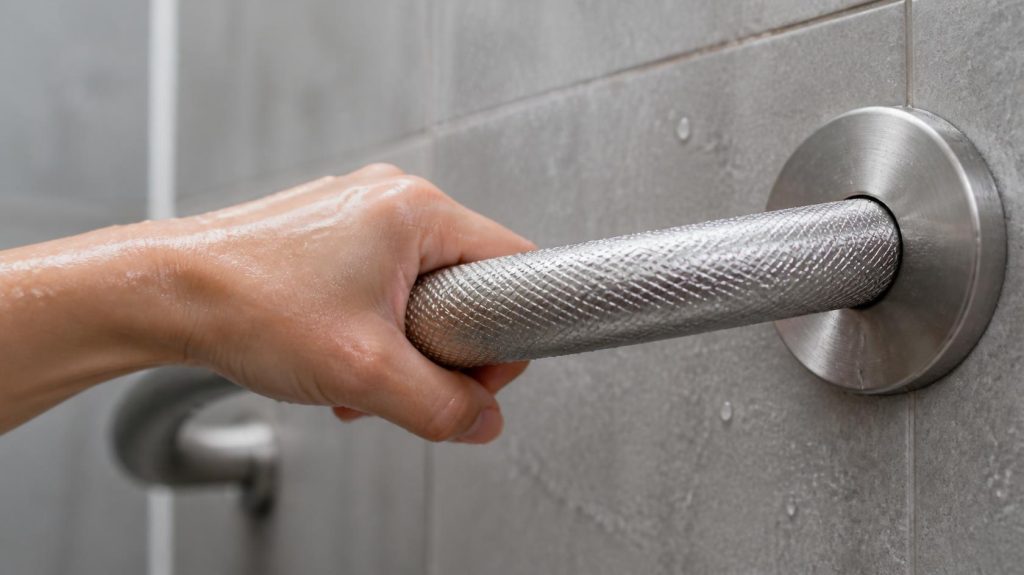
- Knurled or Peened Grip: Smooth stainless steel becomes slick when wet and soapy. Textured (knurled) surfaces provide superior traction.
- Bar Diameter: Opt for 1.25″ to 1.5″ tubing, which fits the natural grasp of aging or arthritic hands comfortably.
- Concealed Flanges: Covers that snap over mounting screws keep water out, preventing mold build-up and wall rot behind the fixture.
How to Install Grab Bars on Tile & Fibreglass Walls
Installation on Tile Over Wood Studs (Standard Method)
Step 1: Locate The Studs
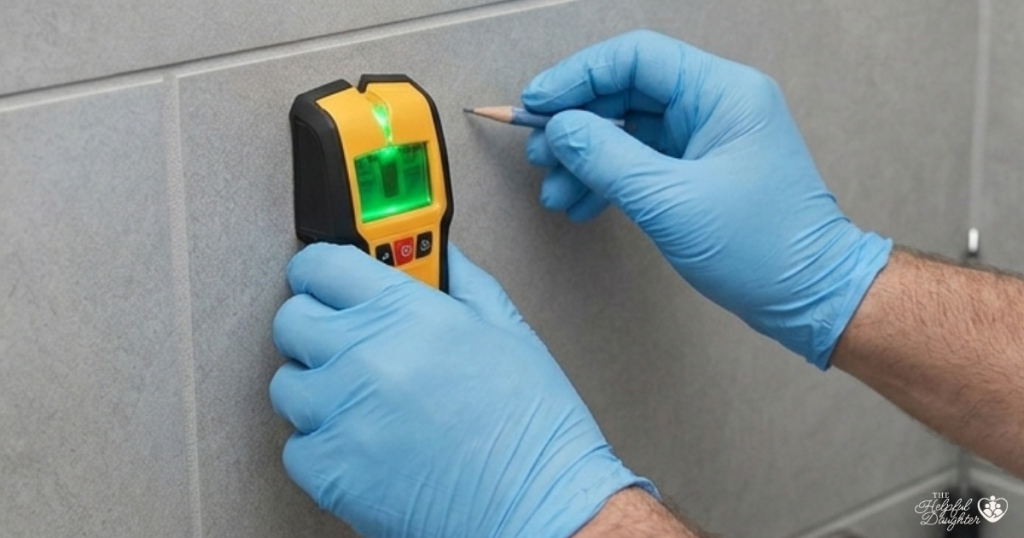
- Use a stud finder along the tile perimeter to identify wood studs behind the wall.
Step 2: Mark and Level
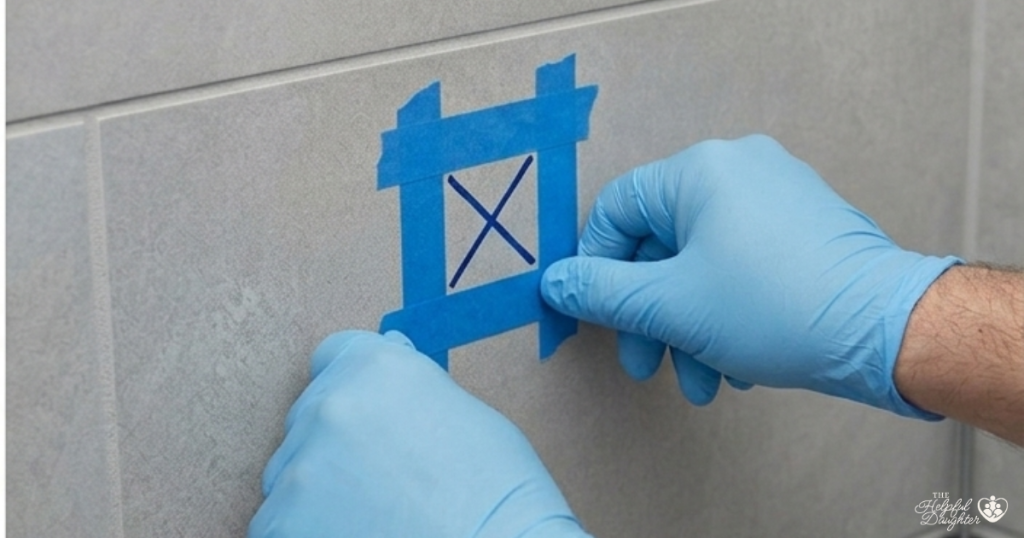
- Use painter’s tape on tile to mark hole centers and verify straightness with a level.
Step 3: Drill Pilot Holes
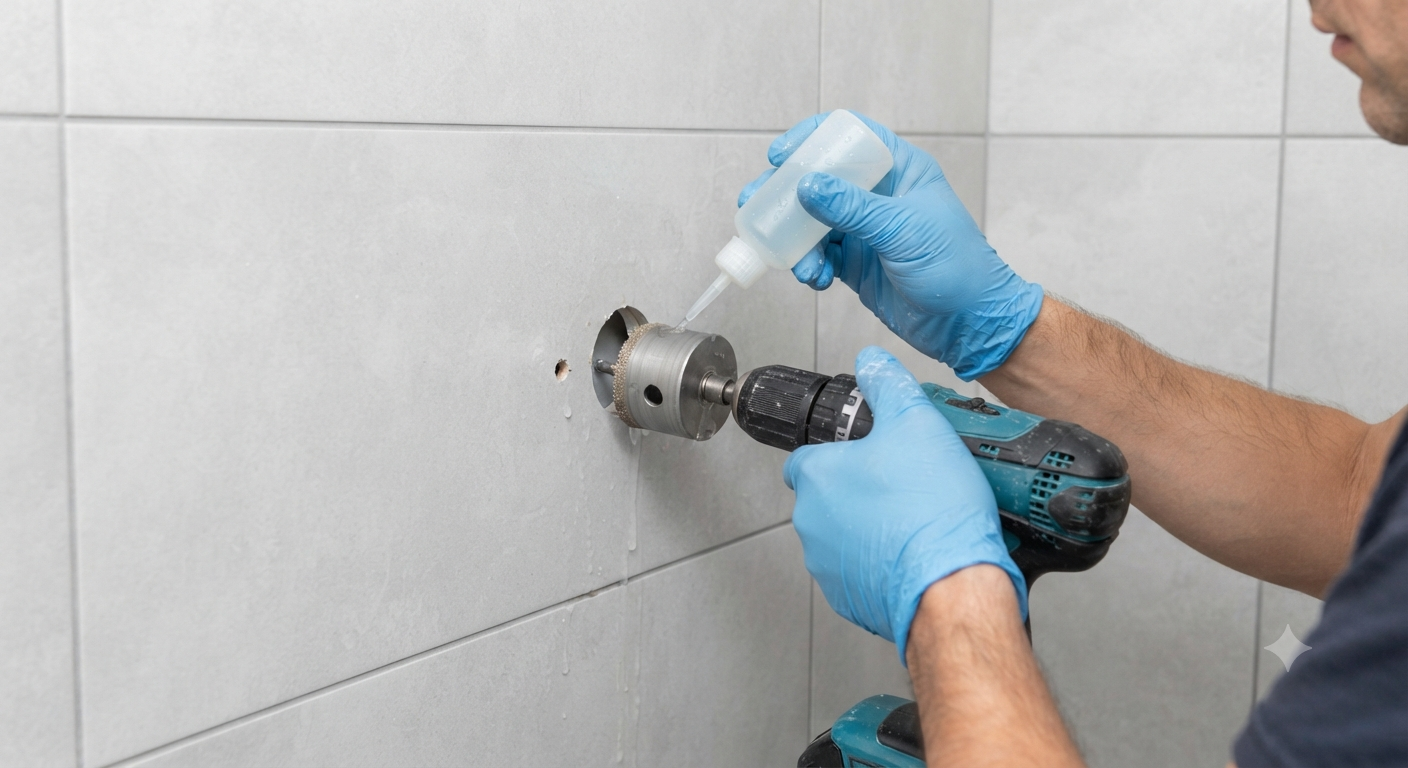
- Use a carbide-tipped masonry bit on low speed to prevent tile cracking. Once through tile, switch to a wood bit for the stud.
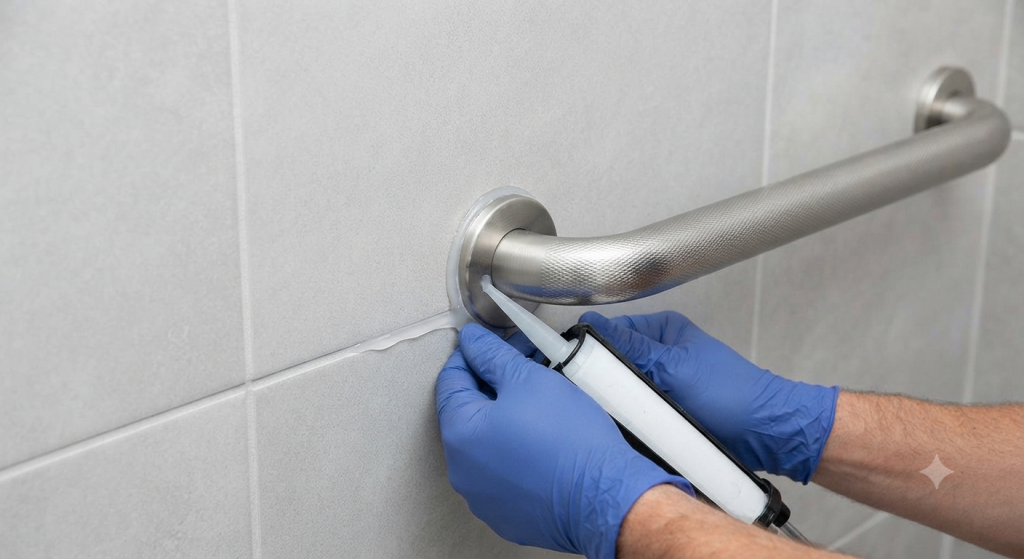
Step 4: Apply Waterproof Seal
- Apply mold-resistant silicone caulk around the screw holes and rear mounting flange to stop moisture intrusion.
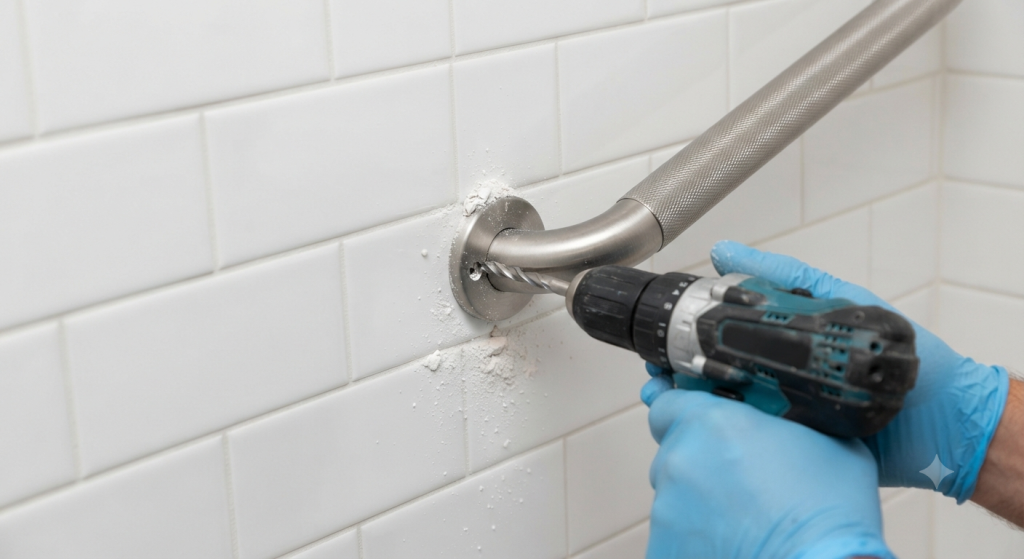
Step 5: Secure Mount
- Fasten stainless steel screws directly into the center of the wooden stud.
How to Install Grab Bars on Fiberglass Shower Walls
Fibreglass wall panels require specialized structural anchors:
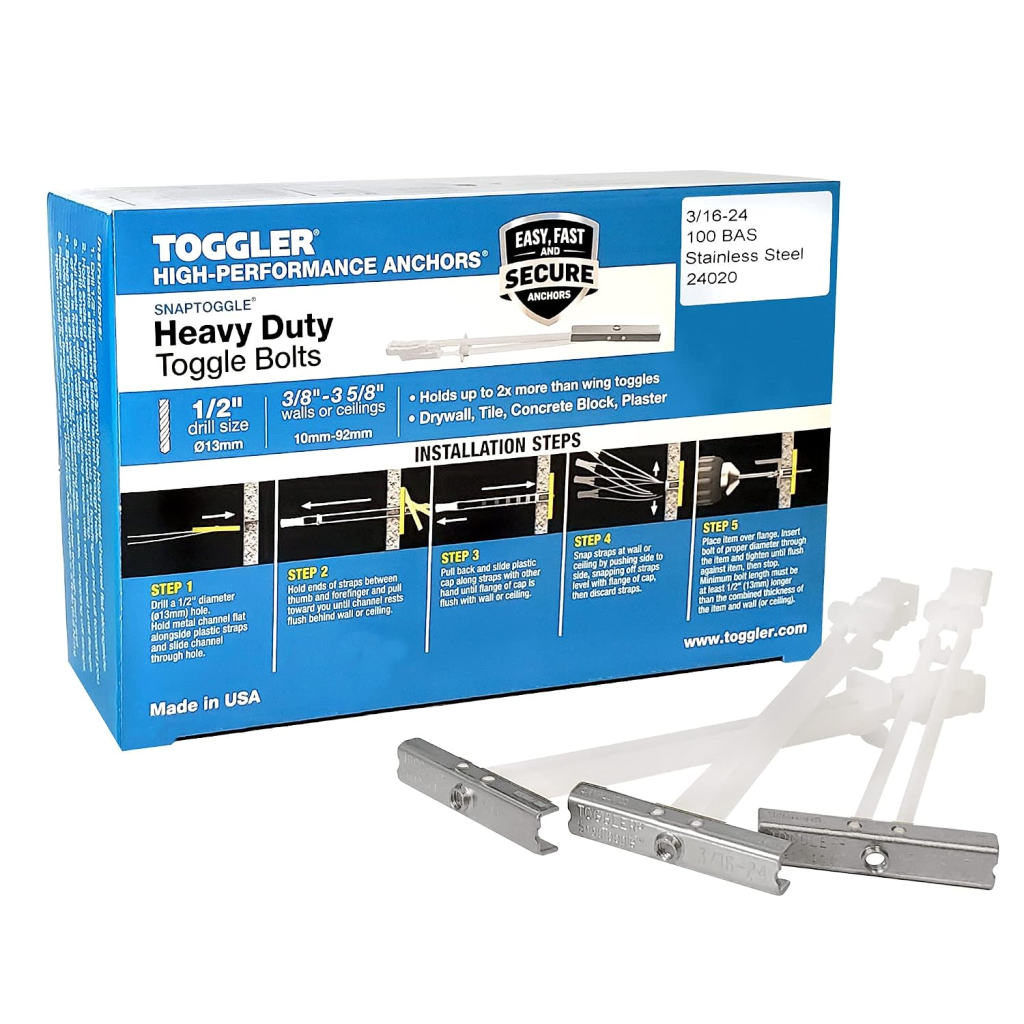
- Structural Toggle Anchors: Use anchors explicitly rated for hollow fiberglass (such as Moen SecureMount or WingIts). These expand behind the hollow panel, distributing weight across a wide area without cracking the fiberglass shell.
Step-by-Step Action Plan
- Observe Movement: Watch your parent navigate the shower and note where they naturally reach for support.
- Mark & Test: Tape layout outlines onto the shower wall and have your parent simulate entering, washing, and exiting before drilling.
- Select Hardware: Purchase ADA-compliant, textured stainless steel bars rated for 500 lbs.
- Anchor Securely: Fasten into wood studs or use specialized fiberglass anchors, sealing all entry points with waterproof silicone.
Final Thoughts on Placing Grab Bars in Shower
At the end of the day, installing grab bars isn’t just about home hardware or safety codes—it’s about protecting your parent’s freedom and your peace of mind. A well-placed grab bar gives your loved one the stability they need to shower confidently without fear of losing their footing or compromising their dignity.
Take a few minutes this week to assess their shower space. Observe how they naturally enter, stand, and reach for controls, then use the measurements and placement guide above to mark out a setup tailored to their specific mobility needs. Whether you tackle the installation yourself or hire a professional handyperson, taking this step today prevents a life-changing fall tomorrow.
Frequently Asked Questions
What is the standard height for a grab bar in a shower?
The standard horizontal height for a shower grab bar is between 33 and 36 inches from the shower floor, accommodating most adults in a standing position.
Can you install grab bars on fibreglass shower surrounds?
Yes, but you must use specialized heavy-duty hollow-wall anchors (such as WingIts) or anchor directly into wood studs behind the surround. Standard screws into fiberglass alone will fail under load.
Are suction cup grab bars safe for seniors?
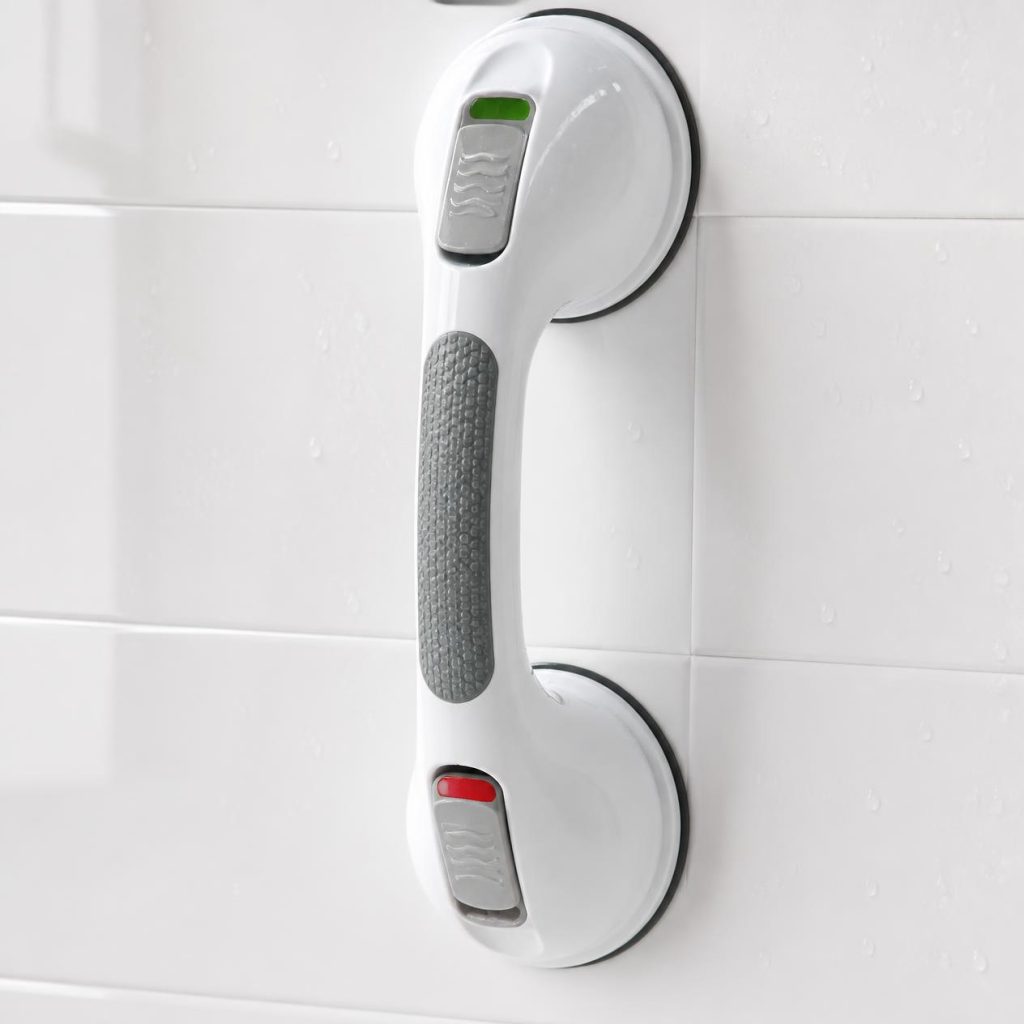
No. Suction cup grab bars are unsafe for weight support and frequently detach without warning due to humidity or microscopic air leaks. Only permanently mounted hardware should be used for senior safety.
What length grab bar should I buy for a shower?
For most standard home showers, a 24-inch or 36-inch horizontal bar works best along the main back wall, while a 18-inch to 24-inch vertical bar is ideal for entryways and near water controls. Measure your wall space and stud spacing (typically 16 inches apart on center) before purchasing to ensure proper mounting.
Should shower grab bars be installed vertically, horizontally, or angled?
It depends on the motion required:
- Vertical: Best at shower entry/exit and near water controls to help with stepping over thresholds and maintaining balance while reaching.
- Horizontal: Ideal along the back wall to provide continuous leverage and support while standing, washing, or walking across the tub.
- Angled (45°): Useful near shower benches or toilets, as an angled bar allows users of different heights to pull themselves up naturally.
Can I drill into tile to install a grab bar without cracking it?
Yes, but you must use a carbide-tipped or diamond-tipped masonry drill bit on low speed. Apply painter’s tape over the drill site first to prevent the bit from slipping, and avoid using the drill’s hammer mode. Once through the tile, switch to a standard wood bit to anchor into the underlying wooden stud.
How much weight can a properly installed grab bar support?
A residential grab bar anchored properly into solid wood studs or heavy-duty hollow-wall anchors (like WingIts) typically supports up to 500 lbs. Standard ADA commercial guidelines require a minimum of 250 lbs, but choosing higher-rated home hardware accounts for sudden dynamic fall impacts.
5. Is a grab bar required inside a walk-in shower?
While not legally required in private homes, a walk-in shower still poses significant slip hazards due to soapy tile floors and steam. Installing at least one vertical bar at the threshold and one horizontal bar along the back wall is strongly recommended for senior safety.